DISTRIBUTOR-FIRST SUPPLY PARTNER · SINCE 1999 Live · Product System
SPC Company
Value · SPC OEM
What it is

Belt Guard

Compare tiers ↓

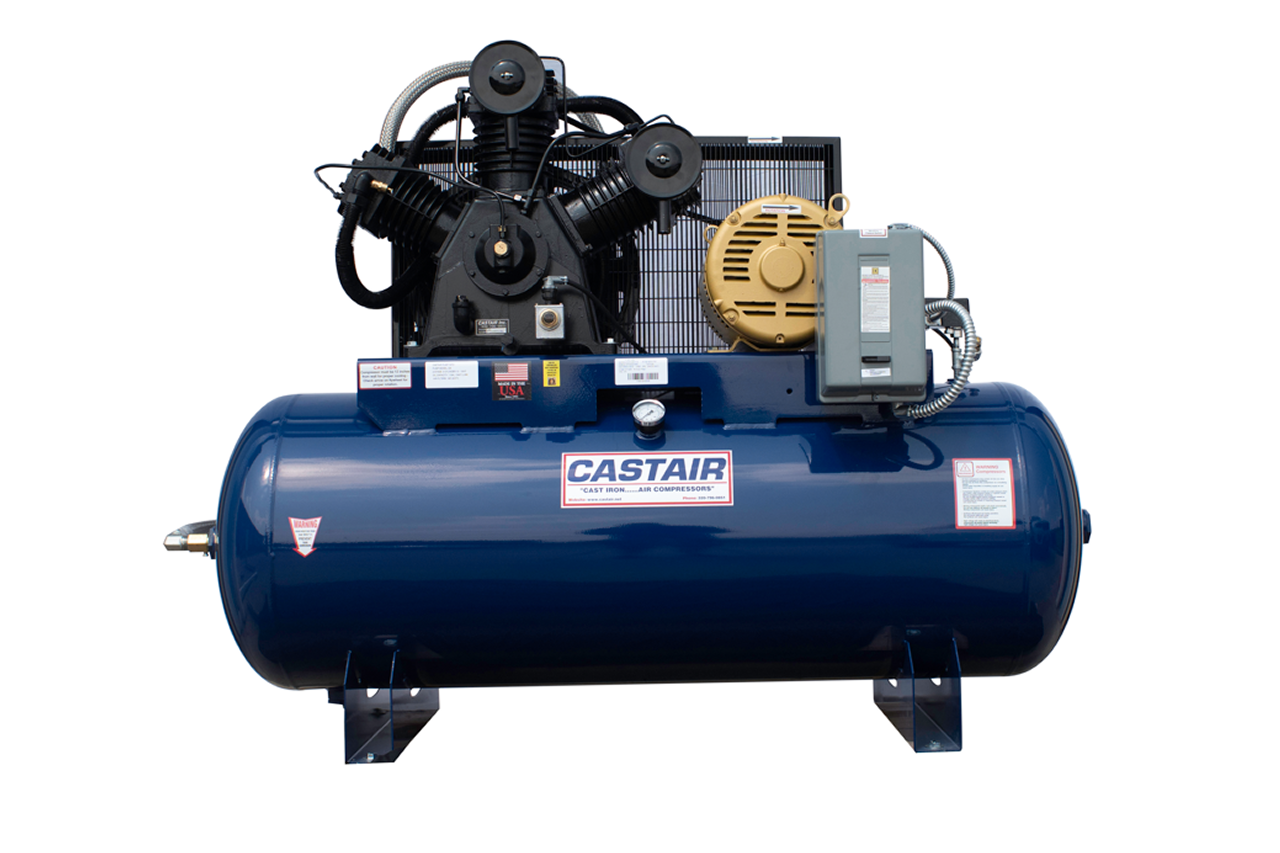
The belt guard is the safety enclosure over the belt-and-sheave drive of a belt-driven compressor, the cage or panel that covers the spinning belts, the motor sheave, and the flywheel between the motor and the airend or pump. It lives in the Power & Drive layer, wrapped around the V-belts and pulleys, and its whole job is to keep hands, sleeves, and tools out of an in-running nip point that will take a finger or a hand off without slowing down. This is not a comfort part; it is a code-required machine guard. OSHA 29 CFR 1910.219 requires that mechanical power-transmission belts and sheaves be guarded, and an exposed belt drive is both an amputation hazard and a citation waiting to be written. It ships standard on every packaged compressor, then goes missing after a belt service or never gets built on a custom or re-motored unit, which is exactly when it needs to be quoted.

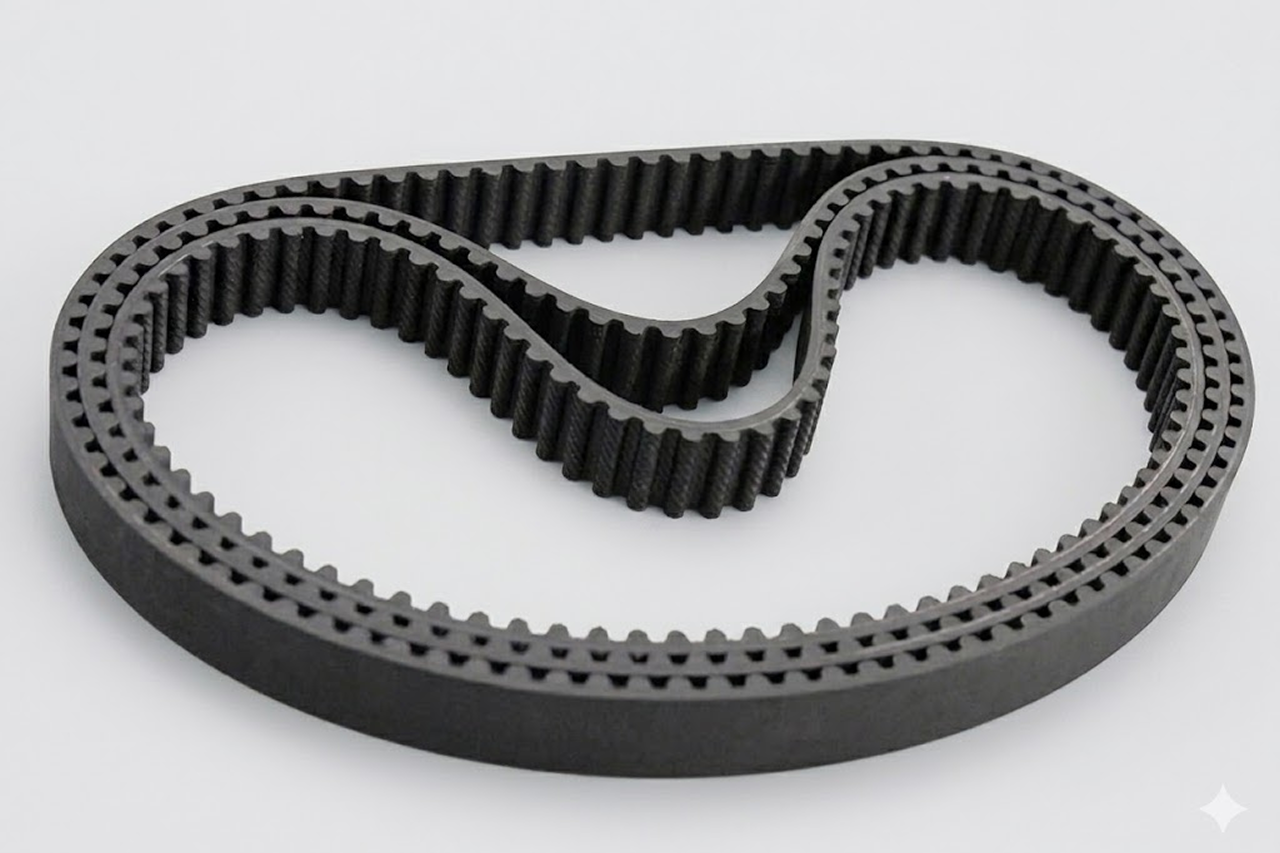
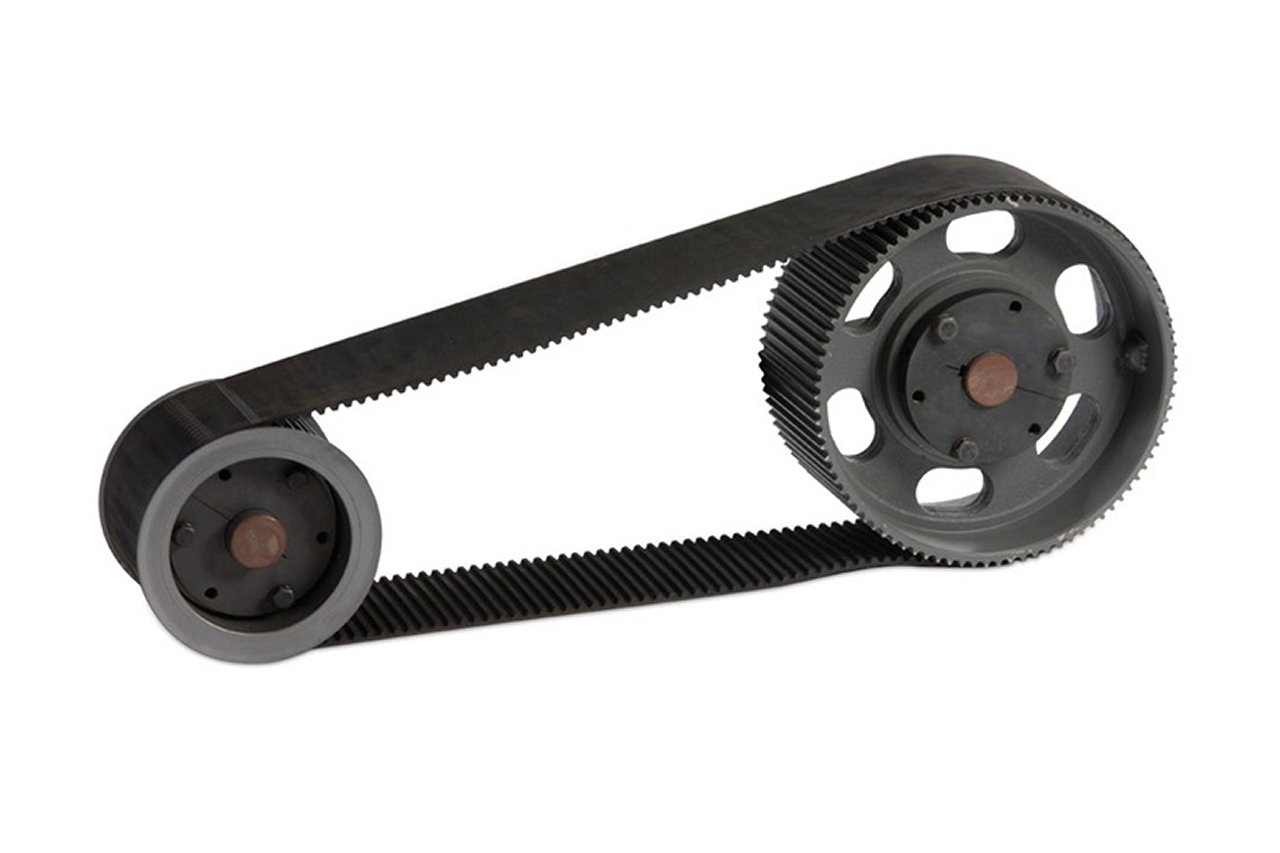
Pictorial Representative belt guard
Belt Guard — representative illustration
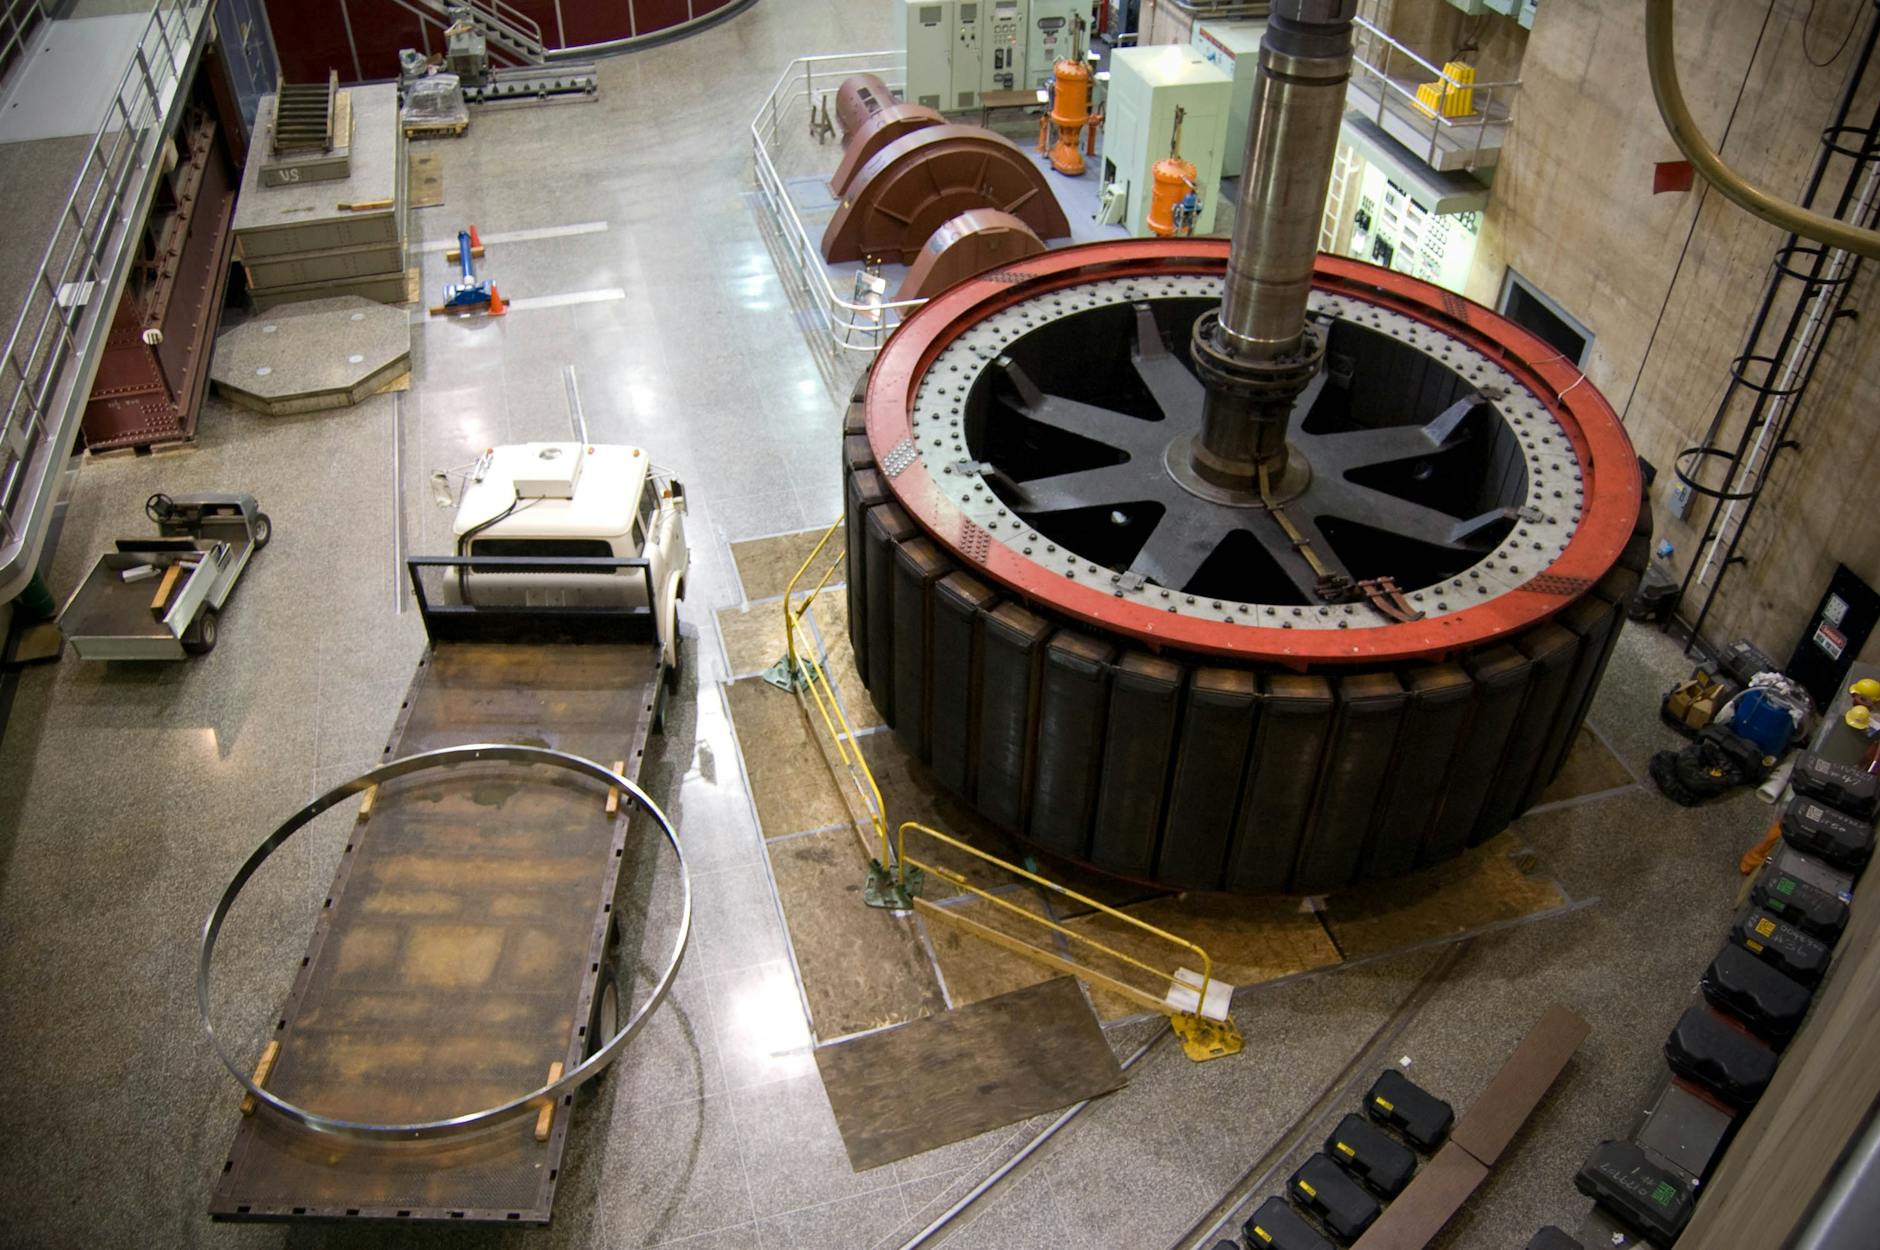
Where it's used General Manufacturing
General Manufacturing application
Why it's needed

Why this matters.

When a belt guard is the right call, how to size it, and the legal and injury risks of leaving it off. Review the points below.

01 · Key point
It is code, not a nicety.

OSHA 29 CFR 1910.219 requires that power-transmission belts and sheaves be guarded. An exposed belt drive is a citation on the next walkthrough and an amputation hazard every shift. The guard is the cheapest part on the package and it closes a real liability gap.

02 · Key point
It goes missing after service.

The guard ships standard on every packaged compressor, then comes off for a belt change and never goes back on, or never gets built on a custom or re-motored unit. Any time belts and sheaves are exposed, quote the guard. It is the line item the service tech forgot.

03 · Key point
Ventilated mesh lets you read the belts.

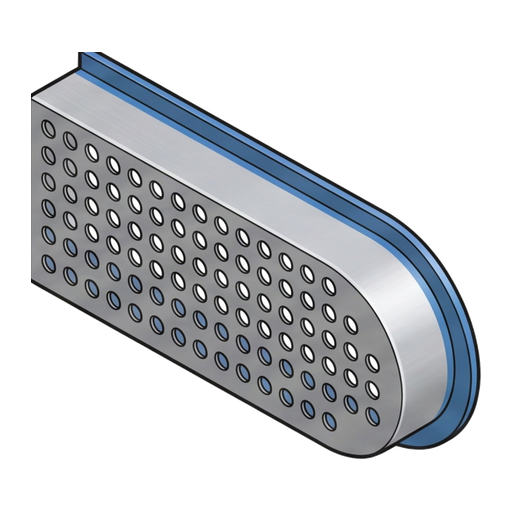
Expanded-metal / wire mesh vents drive heat and lets a tech eyeball belt glazing, cracking, and wear without pulling the guard. Solid sheet-metal hides the belts until they fail. Quote mesh unless debris containment or a wash-down spec forces solid.

04 · Pro tip
Two numbers size a cut-to-fit guard.

Center distance (motor shaft to flywheel shaft) sets the length; largest sheave OD plus belt clearance sets height and depth. Measure the running drive. On an OEM package, skip the math; match the part number off the compressor frame.

05 · Pro tip
Quote the guard with the belts and sheave.

A belt or pulley job already has the drive open and the guard off. Attach the V-belts, the motor sheave, and the guard on the same quote so the drive is closed back up correctly, the matched belts wear even and the guard actually gets reinstalled.

06 · Where it bites
Hinge it or it stays off.

A bolt-on guard that takes ten minutes to remove is the guard that gets left off after the next belt check. On frequently-serviced drives, quote hinged / quick-access so a tech can inspect and re-tension in seconds, the easy-to-reinstall guard is the one that stays on.

07 · Where it bites
Wrong size leaves an open nip.

A guard that does not fully enclose the belt path, too short for the center distance, gaps at the sheave, mesh openings wide enough to reach through, fails the OSHA guarding-distance table and still leaves the hazard. → Size to the actual drive and confirm no finger reaches the nip.

Technologies within this type

Which technology — and when to choose it.

Same job, close off the in-running nip on the belt drive so it passes an OSHA inspection and stops being an amputation hazard. The construction, access, and finish decide whether a tech can service the drive without fighting the guard, and whether it survives the room it lives in.

Solid sheet-metal vs ventilated mesh

Solid sheet-metal totally encloses the drive and contains a thrown belt or debris. Ventilated expanded-metal / wire mesh lets drive heat out and lets a tech read belt wear without removing the guard, the field preference on compressors. Quote mesh unless debris containment or a washdown spec calls for solid.

Bolt-on vs hinged / quick-access

Bolt-on is cheapest and fully removed for service, fine where belts are changed rarely. Hinged or lift-off quick-access lets a tech open the guard to inspect and re-tension belts in seconds, so it actually gets put back on. The guard that is easy to reinstall is the one that stays installed.

OEM-match vs universal cut-to-fit

OEM-match is a specific part number off the compressor frame, exact bolt pattern, exact coverage, fastest on a packaged unit. Universal / cut-to-fit is sized to center distance and largest sheave OD for custom builds, re-motored units, or where the original guard is long gone.

Painted vs galvanized finish

Painted steel is the indoor compressor-room standard. Galvanized survives outdoor enclosures, wash-down areas, and corrosive rooms without rusting through at the cut edges. Match the finish to where the compressor actually sits, not where it was built.

Key selection criteria

What we need to spec it right.

From the machine spec sheet to the part number. Answer what you know, leave the rest blank, and send.

04Choose your priority  ·  core differentiator

Whatever your lever — performance, value, or price — SPC has the right brand.

Pick the priority; the quote desk handles the cross-reference.

02 Value 1 brand
Where it's used

Industries served.

Each industry below uses this product across the listed areas. Open an industry to see how it fits the rest of its system.

Also applies to Compressor rooms, replacement and service · OEM and shop-built compressor packages · OSHA-driven compliance work · Outdoor and wash-down installations · Distributor counter & RFQ work

Install · 6 critical steps

The things that matter on the first install.

Step 01
Confirm the guard fully encloses the belt path
Before it ships, verify length covers the full center distance and height/depth clear the largest sheave with no gap at either pulley. On a cut-to-fit guard, confirm against the measured drive, a guard that leaves the nip exposed fails the OSHA guarding-distance table and the inspection.
Step 02
Lock out the compressor before the guard comes off or goes on
The drive is an in-running nip point. De-energize and lock out the motor starter before any guard work, never reach into or near the belts with the unit able to start on pressure demand.
Step 03
Mount to the frame, not the motor
Bolt the guard to the compressor base or frame so motor vibration does not loosen it and so it stays put when the motor is slid for belt tensioning. Confirm the mounting pattern matches; on universal guards, fabricate brackets that hold the guard rigid and square to the drive.
Step 04
Check clearance to the moving parts
Spin the drive by hand (still locked out from start) and confirm nothing, belt, sheave flange, bushing bolt, contacts the guard through its travel. A guard rubbing the sheave throws metal and wears a hole; leave clearance on all faces.
Step 05
Verify no finger reaches the nip
On mesh / expanded-metal, confirm the opening size and the standoff distance meet the OSHA reach table so a finger cannot pass through to the belt or sheave. This is the difference between a guard and a decoration.
Step 06
Reinstall after every belt service
The single most common failure mode is the guard left off after a belt change. Make reinstall the last step of any drive service and document it; a hinged / quick-access guard makes this a 30-second job instead of a forgotten one.
Troubleshoot · top failures

Most returns trace to one of these causes.

Symptom
Most likely cause
Fix
OSHA inspector flags the belt drive
Guard missing, bent open, or with openings/gaps that let a finger reach the belt or sheave, a 29 CFR 1910.219 guarding deficiency.
Install a guard that fully encloses the belt path and meets the guarding-distance / reach table. Match OEM part number off the frame, or size cut-to-fit to center distance and largest sheave OD. Confirm no opening allows reach to the nip.
Guard rubs or rattles against the drive
Wrong size for the sheave OD or center distance, mounting loosened by motor vibration, or the guard bolted to the motor instead of the frame.
Verify the guard clears the largest sheave on all faces. Re-mount rigidly to the compressor frame, not the motor. If the guard contacts a moving part, it is undersized, re-size to the actual drive geometry.
Drive running hot, belts glazing early under a solid guard
Solid sheet-metal guard trapping drive heat with no ventilation on a continuous-duty unit.
Switch to a ventilated mesh / expanded-metal guard so drive heat escapes and belt condition is visible. Confirm belt tension and alignment while the drive is open; heat and glazing are often over-tension as well as poor guard ventilation.
Guard keeps getting left off after belt service
Bolt-on guard that is slow to remove and reinstall, so techs skip it after a belt check.
Replace with a hinged / quick-access guard so inspection and re-tensioning take seconds with the guard staying captive. Make reinstall the documented last step of every drive service.
Galvanized guard rusting at cut edges outdoors
Painted guard installed in an outdoor or wash-down environment, or galvanized coating breached at field-cut edges.
Use a galvanized guard for outdoor / wash-down installs. Cold-galvanize or seal any field-cut edges so corrosion does not start where the coating was opened.

Get the right belt guard on quote in 24 hours.

Send us the application — a specialist routes you to the correct tier with a configured part. Lead-times and pricing returned within one business day.

Open quote engine ↑