DISTRIBUTOR-FIRST SUPPLY PARTNER · SINCE 1999 Live · Compressed Air System

SPC Company
Compressed Air / Control / Compressor Control Valves / Inlet Control Valve
Layer 05 · Control Value · Conrader
What it is

Inlet Control Valve

Compare tiers ↓

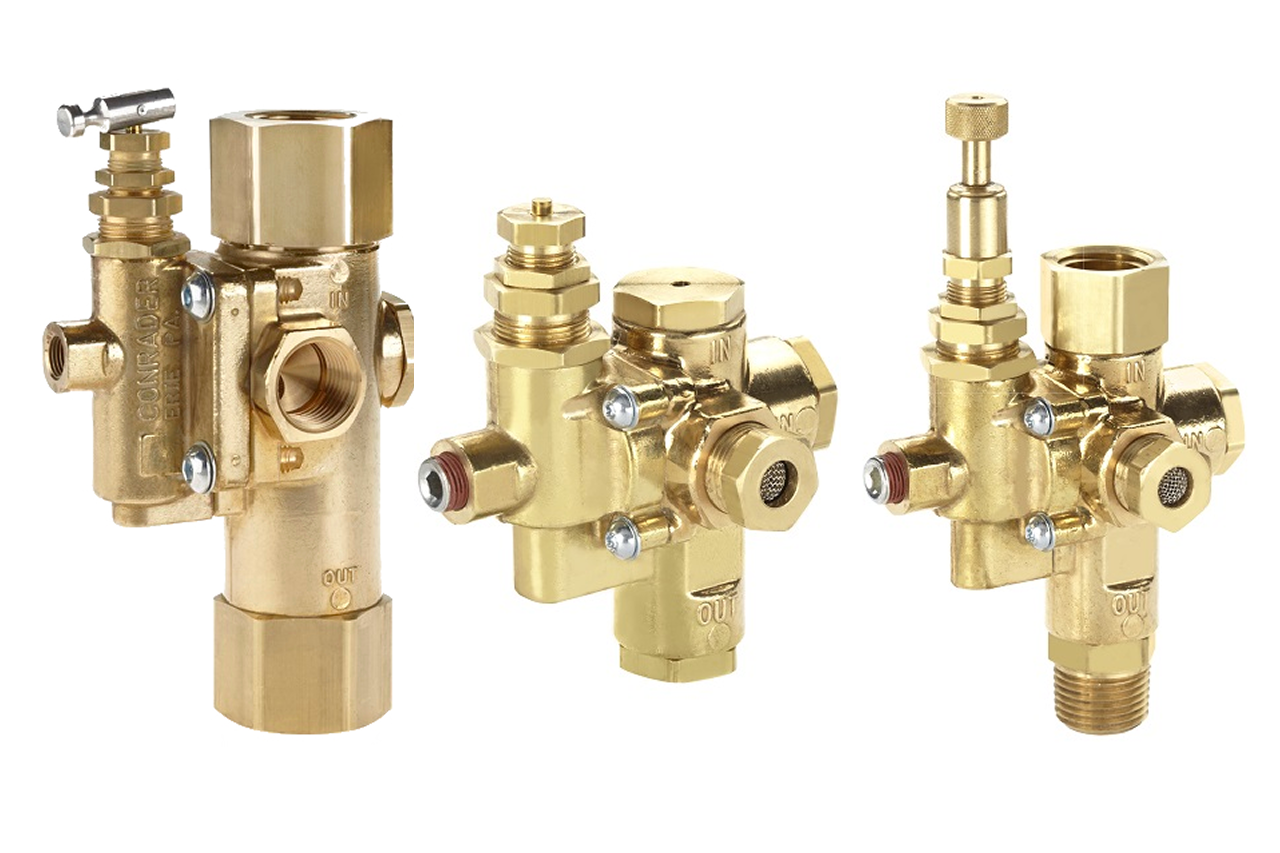
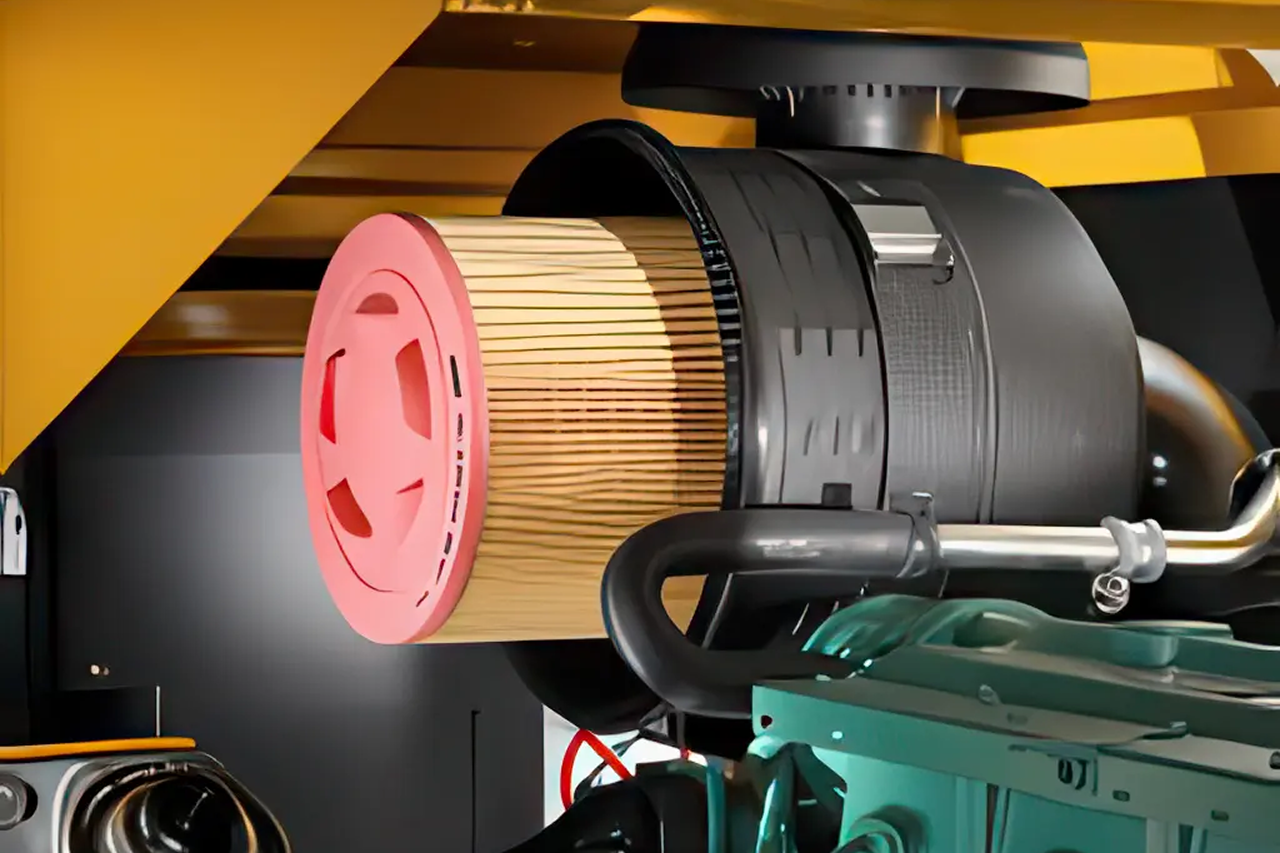
An inlet control valve is the throttle on a rotary-screw compressor's intake, a butterfly or poppet valve mounted to the air-end intake throat, downstream of the intake filter and upstream of the rotors. A fixed-speed air-end runs at a single RPM, so the only way to match output to changing demand is to control how much air it's allowed to breathe in. When the control panel calls for air the valve sits fully open; when system pressure reaches cut-out the valve slams closed and the air-end spins against no resistance, drawing parasitic horsepower only. Selected by cross-referencing the OEM compressor make, model, and HP to an aftermarket part number, year-of-manufacture variants often require different valve bodies, so a serial-number-level cross-reference is the safest path.
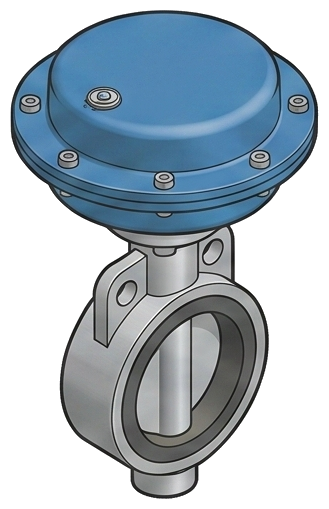
Pictorial Representative inlet control valve
Inlet Control Valve — representative illustration
Where it's used General Manufacturing
General Manufacturing application
Why it's needed

Why this matters.

When the inlet control valve is the right call, and when the symptom belongs to a different part. Review the points below.

01 · Key point
It modulates without cycling the motor.

Throttles the air-end intake between full-open and full-closed so the motor stays at a single steady RPM, the difference between roughly 90 kW loaded and 25-35 kW unloaded on a 100 HP screw. Replaces the impossible alternative of starting the motor 30+ times an hour.

02 · Key point
It seals the intake at shutdown.

Closed disc blocks pressurized hot oil-laden air from the separator tank blowing back through the rotors on every stop. Oil weeping at the intake filter housing is the unmistakable signature of seal failure.

03 · Key point
It crosses 40-60% under OEM list.

Atlas Copco, IR, Sullair, Quincy, Kaeser, Gardner Denver sell their own valves at full list with multi-week lead. Leading-tier aftermarket crosses ship same-day from US stock at roughly half the price, textbook aftermarket capture.

04 · Pro tip
Cross on model and serial number.

Year-of-manufacture variants within the same model line use different valve bodies, the single most common cross-reference miss. Capture make, model, HP, and serial before quoting. With the intake housing off, watch the valve on a commanded unload to isolate body vs. solenoid before shipping the wrong part.

05 · Where not to use
Small reciprocating compressors.

Small recips manage starting with an unloader and a check valve, no inlet throttle in the design. → Re-spec to an unloader valve for any reciprocating machine without a rotary-screw air-end.

06 · Where not to use
"Won't unload" before isolating the unloader.

Stuck-closed unloader produces the same surface symptom as a stuck-open inlet. If the valve moves on a commanded unload but the machine still runs full-load, → Re-spec to an unloader-valve cross: replacing the inlet won't fix the wrong part.

07 · Where not to use
Compressors still under OEM warranty.

Aftermarket cross-reference voids most factory warranties on the air-end and control package. → Re-spec to the OEM-genuine valve until warranty expires, then convert to the cross at the first post-warranty service event.

Key selection criteria

What we need to spec it right.

From the machine spec sheet to the part number. Answer what you know, leave the rest blank, and send.

04Choose your priority  ·  core differentiator

Whatever your lever — performance, value, or price — SPC has the right brand.

Pick the priority; the quote desk handles the cross-reference.

02 Value 1 brand
Where it's used

Industries served.

Each industry below uses this product across the listed areas. Open an industry to see how it fits the rest of its system.

Also applies to Fixed-speed industrial rotary-screws, 25-200 HP plant range · $400-$1,200 · Fixed-speed lubricated rotary-screws, 5-25 HP commercial range · VFD rotary-screw compressors · Aging installed-base machines past OEM warranty · 8-15+ years old · Compressors with confirmed seal failure (oil blowback) · Compressors with load/unload control issues · Multi-machine rotary-screw fleets on service-route agreements

Install · 6 critical steps

The things that matter on the first install.

Step 01
Confirm the cross-reference and stage the kit before lockout
Pull the OEM part number from the parts manual or the existing valve's casting marks. Verify body dimensions, actuator port location, mounting bolt pattern, and gasket configuration against the cross-reference. Stage the valve, fresh intake gasket, new intake filter element, and any bundled control valves on-site before locking out the machine.
Step 02
Depressurize fully, lock out, and wait for safe handling temperature
Stop the compressor, vent the receiver and separator tank to 0 PSI, lock and tag the disconnect. Wait until the air-end and oil sump drop below 120°F. The valve sits directly on the air-end, opening it hot or pressurized risks burns and oil splash.
Step 03
Photograph all control connections before disconnecting
Mark and photograph the actuator pressure line, solenoid wiring, and any position-sensor wiring. Inlet-valve plumbing varies by OEM and a misrouted line after install causes the next-day callback. Cap line ends to keep debris out.
Step 04
Remove the old valve and inspect the air-end intake throat
Loosen mounting bolts in a star pattern and support the valve weight while breaking the gasket seal. With the valve clear, look down the rotor intake throat for varnish, oil pooling, or debris from a failed intake filter. Clean the gasket face thoroughly before installing the new valve.
Step 05
Install the new valve with a fresh gasket, torque to OEM spec
Never reuse the old gasket; the valve sees pressure cycling on every load/unload and a reused gasket leaks within weeks. Seat the valve square to the intake, run bolts hand-tight in a star pattern, then torque with a torque wrench. Verify the actuator port faces the correct direction for the customer's control plumbing.
Step 06
Bench-cycle, install fresh intake filter, restart and verify two cycles
Before reinstalling the intake housing, manually cycle the actuator and watch the disc move freely between full open and full closed. Install a fresh intake filter element (never reuse; the old one is contaminated). Restart and watch through two complete load/unload cycles: full open on load, full closed on unload, no oil weeping at the intake on shutdown. Document install date, part number, OEM cross, and bundled parts.
Troubleshoot · top failures

Most returns trace to one of these causes.

Symptom
Most likely cause
Fix
Compressor will not unload, runs full-load continuously even at cut-out pressure.
Inlet stuck open (debris on seat, failed return spring, sticking actuator), control solenoid burnt out, or control logic not sending the unload signal.
With intake housing off, command unload and watch the valve. Doesn't move = signal failure (solenoid, control air, actuator). Moves but doesn't seat = valve body, replace with cross-reference. Moves and seats but still no unload = unloader is the next suspect.
Compressor running but not producing air, air-end spins, motor pulls unload-current, no air leaves the package.
Inlet stuck closed (return spring jammed, debris wedged in seat), control commanding closed when it should be open, or intake filter element fully plugged.
Inspect intake filter first (cheap, fast). If clear, command load while watching the valve. Doesn't open on load = quote the cross-reference.
Oil weeping at the intake filter housing, especially after shutdown.
Seal failure, disc isn't sealing at shutdown, so pressurized oil-laden air from the separator blows back through the air-end and out the intake.
Replace the valve plus the intake filter element (oil-soaked, unusable). If weeping persists after replacement, inspect the discharge check valve next.
System pressure swinging more than the normal band (e.g., 90-130 PSI on a 100/120 setpoint).
Sluggish actuator (worn piston seals, debris in bore, low control air pressure) or sticking solenoid intermittently failing to energize.
Time the valve's response, a healthy actuator moves in under a second or two. Slow response confirms the actuator. Replace the valve assembly.
Compressor running hot, sump temperature above the rated band, cooler fans running, oil level correct.
Compressor unable to unload (inlet stuck open) so it runs full-load continuously and dumps heat into the oil. Less commonly: thermostatic valve failed in bypass.
Diagnose the inlet first. If healthy and still hot, quote the thermostatic as the paired replacement.
New valve installed, original symptom returns within weeks.
Wrong cross (year-of-manufacture variant mismatch), gasket not seated properly, or the actual root cause was the unloader or thermostatic.
Verify the cross against the serial number. Reseat with a fresh gasket. If both check out, look at the unloader and thermostatic next.

Get the right inlet control valve on quote in 24 hours.

Send us the application — a specialist routes you to the correct tier with a configured part. Lead-times and pricing returned within one business day.

Open quote engine ↑