DISTRIBUTOR-FIRST SUPPLY PARTNER · SINCE 1999 Live · Pneumatic Automation System

SPC Company
Pneumatic Automation / Control & Valving / Directional Control Valves / Valve Replacement Parts
Layer 03 · Control & Valving Performance · SMC Value · AIGNEP
What it is

Valve Replacement Parts

Compare tiers ↓

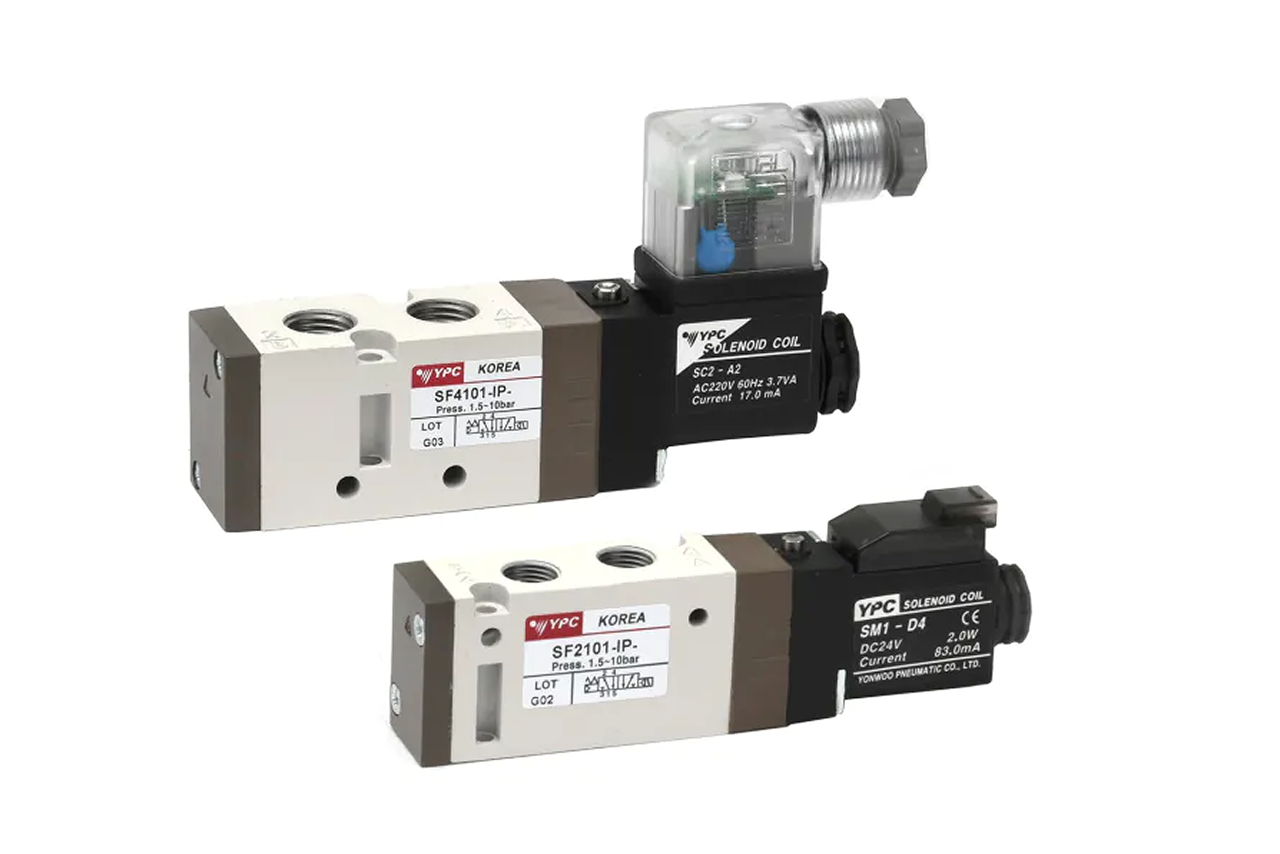
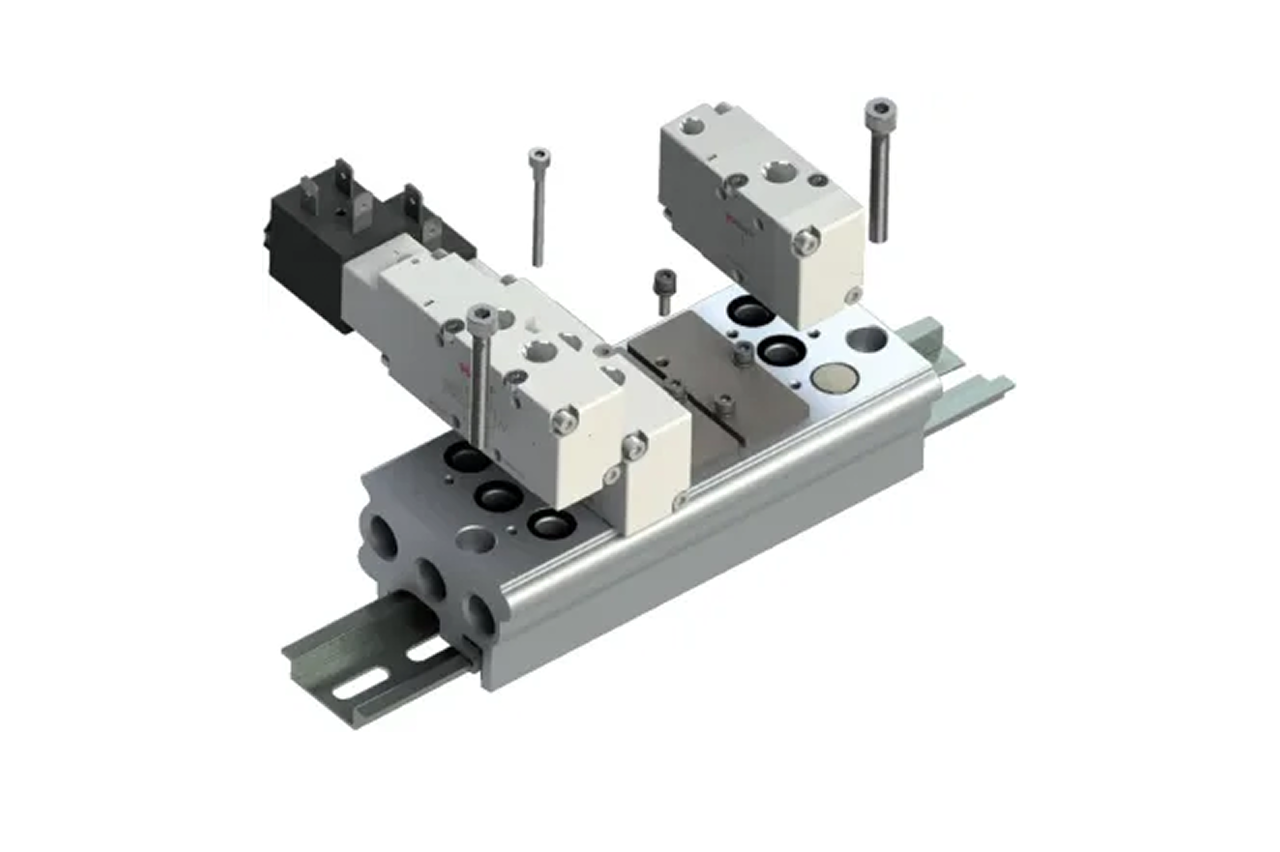
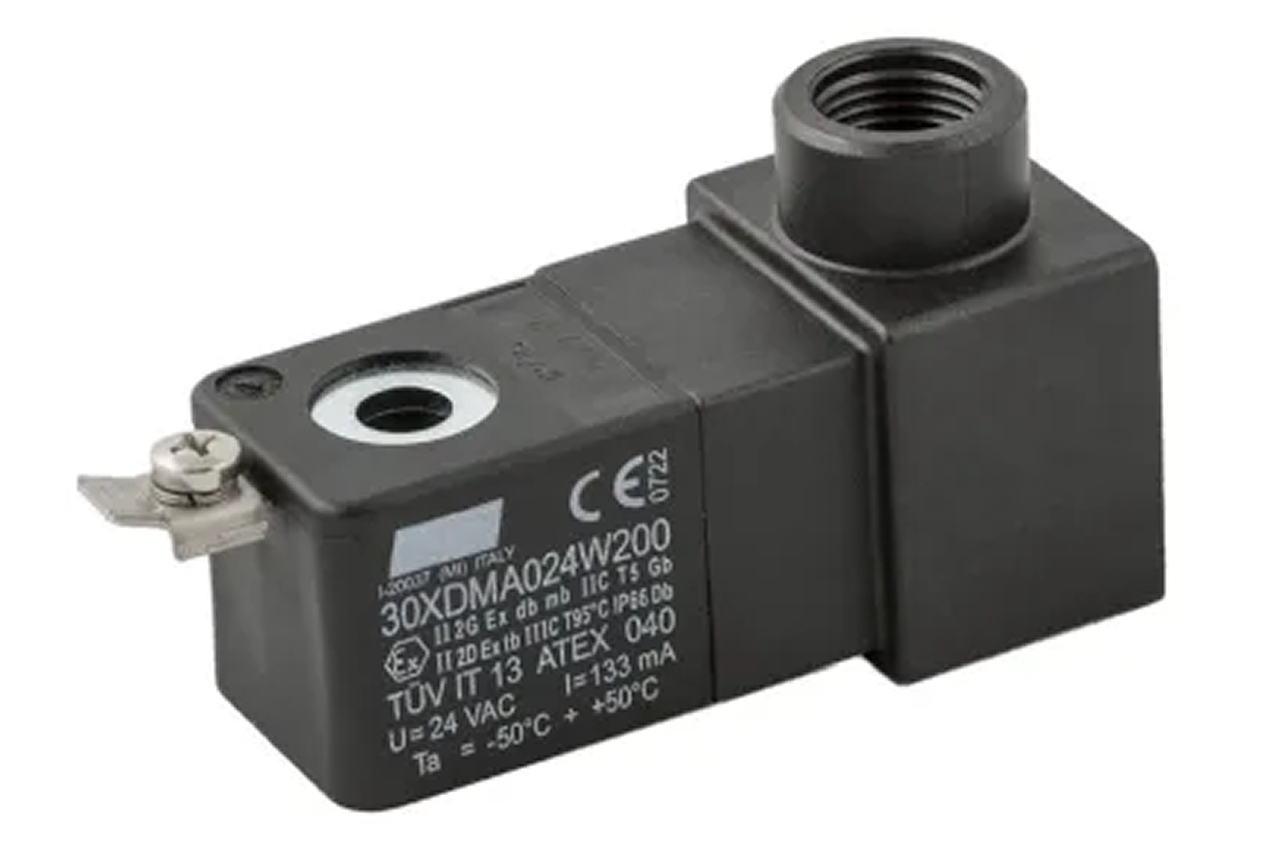
Valve replacement parts are the manufacturer's internal seals and service components that rebuild a leaking or sticking solenoid valve instead of replacing the whole valve. A directional control valve fails in a small number of recognizable ways: a continuous audible hiss from a damaged internal seat or spool seal, slow or sticky shifting from contamination working into the spool bore, or a 5/3 valve drifting off its center position as spool seals lose their seal. In each case the valve body, coil, and spool are still serviceable, what has worn is the elastomer. Some manufacturers package the seals as a single model-matched seal kit; others, SMC and AIGNEP among them, supply the seals, gaskets, and sub-plate components as individual replacement parts catalogued against the valve series rather than as one packaged kit. Either way, the repair restores the valve at a fraction of replacement cost and downtime, and it is the strongest recurring-MRO item in the directional-control family, every solenoid valve in a plant is a future rebuild candidate.
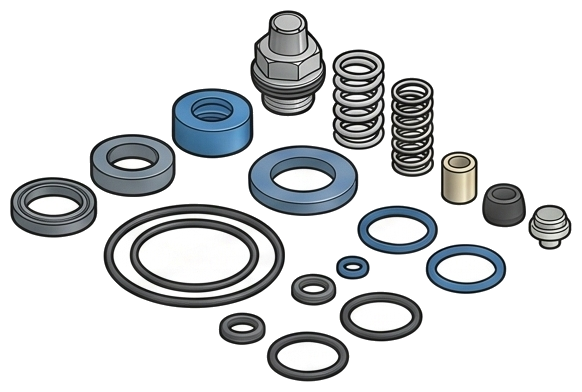
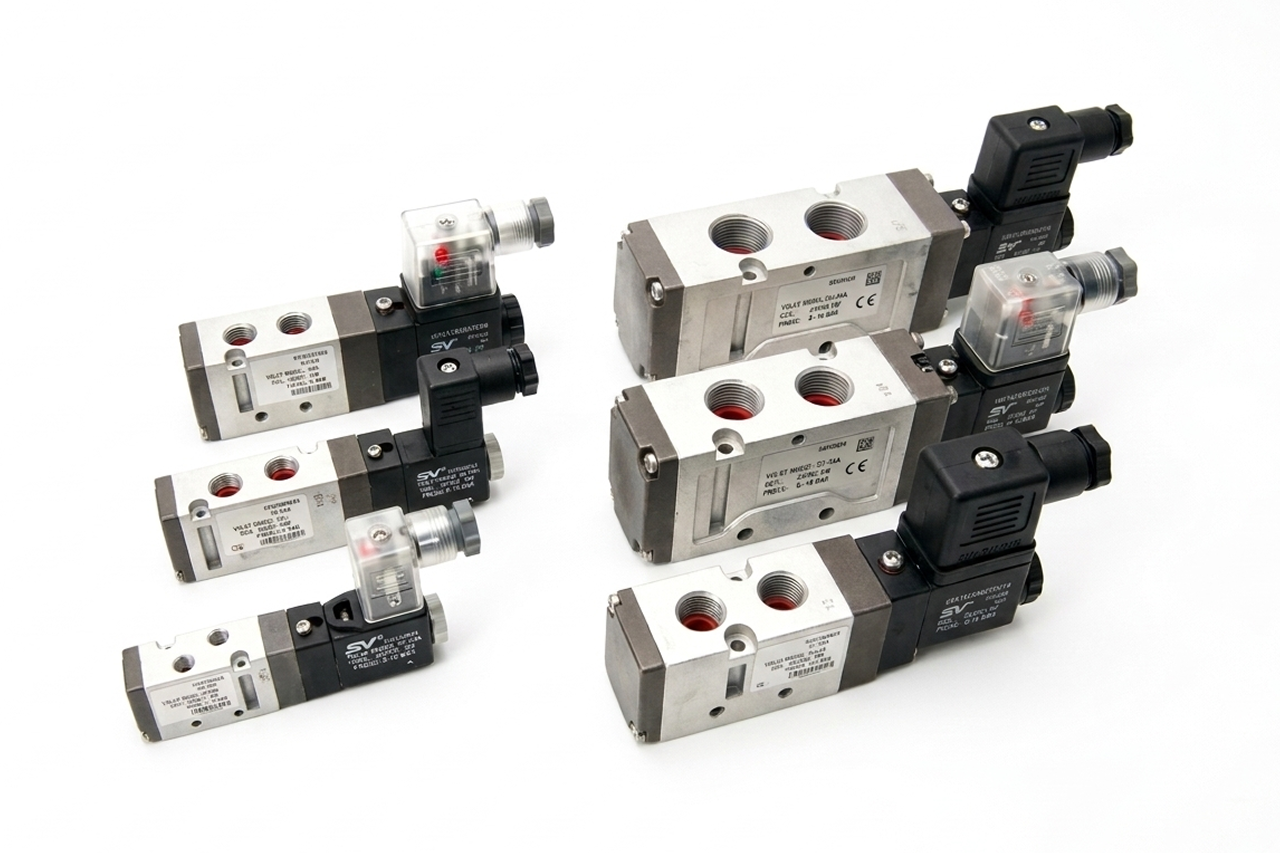
Pictorial Representative valve replacement parts
Valve Replacement Parts — representative illustration
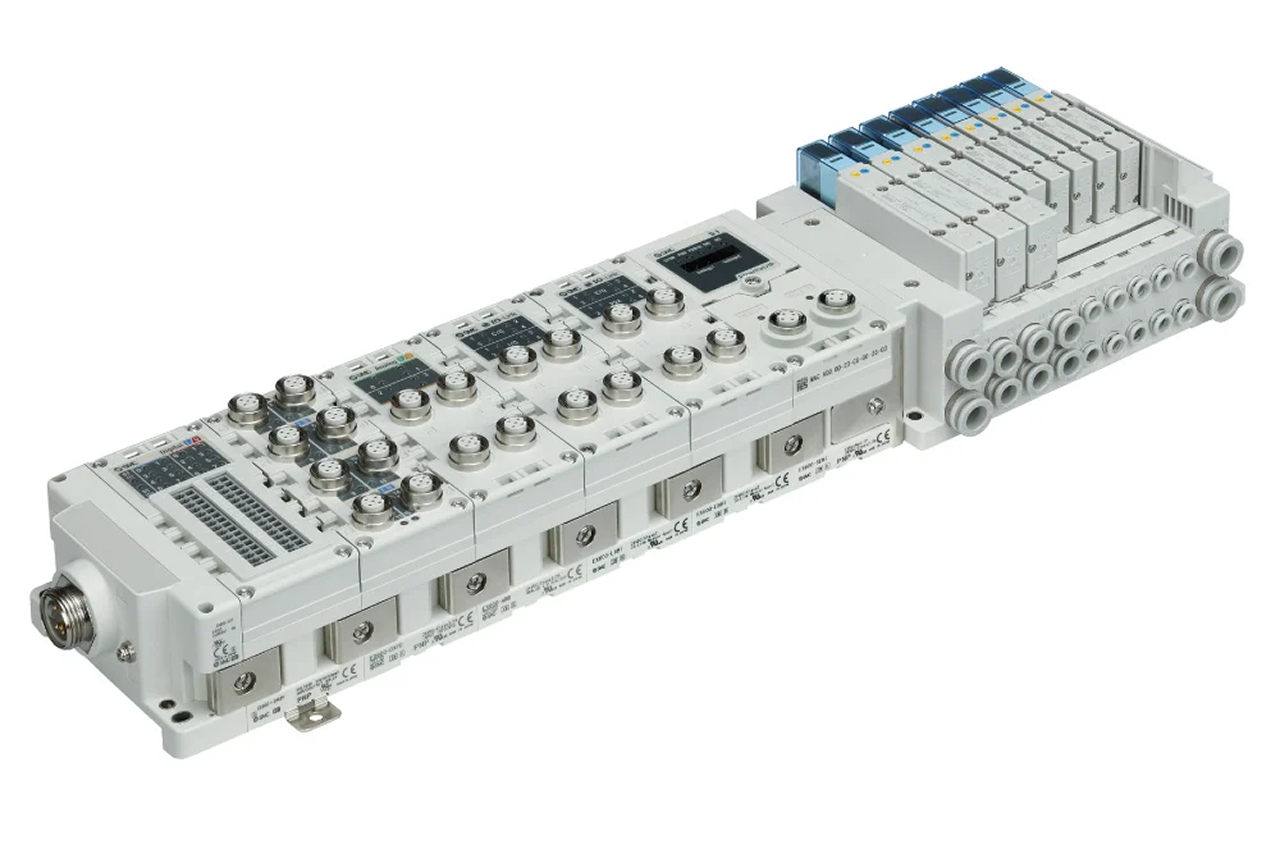
Real-world reference Representative valve replacement parts
Valve Replacement Parts — representative product photo
Why it's needed

Why this matters.

When the seal-kit rebuild is the right call, and when to replace the whole valve. Review the points below.

01 · Key point
Rebuild costs a fraction of replacement.

Body, spool, and coil last decades; elastomer seals last years. A $30–80 seal kit restores the valve in 15–30 minutes of bench work; the alternative replacement valve is 5–10× the kit price and may force re-piping if the model is different.

02 · Key point
Failure modes are recognizable.

Continuous audible hiss at rest = spool or seat seal damage. Slow/sticky shifting = contamination in the spool bore. 5/3 center drift = center-position seal leaking. Each maps to a seal-level repair, body, spool, and coil still good.

03 · Key point
Strongest recurring-revenue line in DCVs.

Every solenoid in every plant is a future seal-kit candidate; 3–7 year seal life on continuous duty. A 50-valve plant on 5-year life consumes ~10 kits/year. Standing quarterly auto-ship of 2–3 kits converts unpredictable expense into planned MRO.

04 · Pro tip
Brand + series + model + function + port size.

SMC SY3000 seals do NOT fit SMC VFR; AIGNEP 01V seals do NOT fit 03V. A near-match won't seal. Also match seal material, NBR (nitrile) for general plant air, FKM above ~80°C or chemical service. Wrong material works initially, fails fast in the wrong environment.

05 · Where not to use
Damaged spool, body, or coil.

Bent spool from over-torque, cracked body from over-pressure, burned coil: the seal kit is the wrong fix. → Re-spec to full valve replacement. Bench-test first: leak at body or fitting threads = replace; leak at exhaust = seal kit.

06 · Where not to use
Recurring failures on the same station.

Third seal kit in two years on the same valve = upstream air-quality problem, not a valve defect. → Quote the kit AND coalescing-element refresh together; selling more kits without fixing the root cause loses customer trust.

07 · Where not to use
Discontinued or unknown-brand valve.

Manufacturers discontinue parts on 10–15 year cycles; older series and out-of-business brands may have no kit available. → Cross-reference to a current model from the same manufacturer or pivot to a full valve replacement with a cross-reference SKU.

Cross-reference to SPC

Running another brand's part? Match it to ours.

Enter the part number you have today and we'll resolve the SPC equivalent. Don't have it? Tell us the machine and we'll cross-reference at RFQ.

01 · Part number

Type the competitor OEM part number (SMC, Pisco, Legris, Parker, Festo). We cross-reference the SPC equivalent live. Don't know it? Leave it blank and we cross-reference at RFQ.

02 · Machine / system

The machine, line, or system this part lives on. Optional.

03 · Location

City, plant, or region. Optional.

04 · Quantity

Per order. Optional.

The part number is all we need to start. Answer the rest if you know it, leave the rest blank, and add to quote. Different part? Cross-reference, add to quote, then cross-reference again. Each click is one quote line.

04Choose your priority  ·  core differentiator

Whatever your lever — performance, value, or price — SPC has the right brand.

Pick the priority; the quote desk handles the cross-reference.

01 Performance 1 brand
02 Value 1 brand
Where it's used

Industries served.

Each industry below uses this product across the listed areas. Open an industry to see how it fits the rest of its system.

Also applies to Plant-wide maintenance schedules · High-cycle 24/7 production lines · Reactive replacement on individual valve failures · Plant air-quality remediation projects · Bundled remediation + rebuild quote · Mothballed equipment recommissioning · Distributor MRO stocking · OEM repair / refurbishment · IO-Link cycle-count-driven planned replacement

Install · 6 critical steps

The things that matter on the first install.

Step 01
Confirm valve brand, series, and model before ordering parts
Replacement parts are matched to one specific valve's geometry; a near-match seal kit will not seal. Spool diameter is wrong, seat depth is wrong, seal cross-section is wrong. Read the nameplate carefully; if unreadable, photograph the valve and send to the distributor for cross-reference.
Step 02
Confirm seal material against the original spec
NBR (nitrile) for general air, FKM for high-temperature or chemical service. Match the original. Installing the wrong material may work initially but fails fast in the wrong environment.
Step 03
Depressurize and isolate the valve before disassembly
Close the upstream shutoff; vent the downstream by manually overriding the valve into the exhaust position. Verify zero pressure with a gauge or with the manual override before opening the body. Disassembling a pressurized valve creates a parts-and-air projectile hazard.
Step 04
Disassemble per the manufacturer's service procedure
Most solenoid valves disassemble with 4-6 retaining screws holding the end cap, pilot, or spool retainer. Photograph each step during disassembly: reassembly is much harder without the visual record, particularly on 5/3 valves with center-position springs and detent elements.
Step 05
Clean the spool bore before installing new seals
Any contamination remaining will tear or damage the new seals on the first cycle. Wipe the bore with a clean lint-free cloth; for heavy contamination, flush with a small amount of valve-compatible solvent (verify against the manufacturer's recommendation, wrong solvent attacks the elastomers). Inspect the spool for scoring; scoring requires spool replacement (the spool is typically not a seal-kit item but is available separately on most series).
Step 06
Reassemble with new seals lightly lubricated with the manufacturer's recommended lubricant
Most seal-kit instructions specify a light coating of silicone grease or pneumatic-spec lubricant before assembly. Skipping lubrication can cause the seals to roll or tear on first cycle. Reassemble in reverse order; verify the spool slides smoothly before re-tightening the end cap. Pressure-test at system pressure and cycle through all positions before returning to service, a rebuilt valve that leaks at the bench needs the seals re-checked (most common cause: a seal pinched or rolled during assembly).
Troubleshoot · top failures

Most returns trace to one of these causes.

Symptom
Most likely cause
Fix
Rebuilt valve leaks immediately after assembly
Seal pinched, rolled, or torn during reassembly (#1 cause: seals are easily damaged on installation, especially on tight bores), OR wrong-series seal kit installed, OR spool bore wasn't cleaned and contamination tore the new seal, OR an end-cap or retainer screw isn't torqued to spec.
Disassemble, inspect each seal carefully for damage or improper seating. Replace any damaged seal. Verify the seal kit part number matches the valve series. Re-clean the spool bore. Re-torque retainer screws to spec.
Rebuilt valve worked initially but leaks again within weeks
Upstream air quality degrading the seals at an accelerated rate (most likely if recurring), OR wrong seal material installed for the service (NBR in FKM-spec service), OR spool surface scored and damaging new seals on every cycle.
Service the upstream coalescing filter; verify the FRL removes water and particulate adequately. Verify seal material matches the application. Inspect the spool, replacement spool required if scored.
Seal kit arrived missing an O-ring or component listed in the kit
Manufacturing defect (rare), OR the kit is missing the right parts for the specific valve sub-variant (some kits cover a range of models and require checking which components apply to the specific model being serviced).
Cross-check the kit's contents against the manufacturer's parts list for the specific model. Contact the distributor if confirmed missing. Some kits include extra components that are not used on every model; verify against the parts list.
Seal kit does not exist for an older valve model
Manufacturer has discontinued parts on a 10-15 year cycle (common for older series), OR the valve was made by a manufacturer no longer in business, OR the valve is from a niche product line that never had service parts published.
Cross-reference to a current valve model from the same manufacturer (often the new series has a service-bulletin for retrofitting old valves with new seals), OR replace the valve with a cross-reference from a different brand, OR scavenge parts from a sister-machine's valve if the customer has multiples.
Rebuilt valve shifts correctly but cycle count on a smart valve terminal doesn't recognize it as the same valve
Some smart terminals track per-valve cycle history by serial number or electronic ID; replacing seals doesn't change the valve's identity, but if the valve was removed and reinstalled the diagnostic context may have been reset.
Verify the valve's electronic ID is intact (typically a barcode or EEPROM on the body). If the diagnostic history was reset, the new cycle count baseline starts at zero; document in the maintenance log.
Seal kit is the wrong size for the valve
Wrong series specified at order, OR the valve is a sub-variant of the series (different port size or function code that requires a different kit).
Return the wrong kit and re-order against the correct part number. Cross-check the valve series against the kit's applicability list before next order.

Get the right valve replacement parts on quote in 24 hours.

Send us the application — a specialist routes you to the correct tier with a configured part. Lead-times and pricing returned within one business day.

Open quote engine ↑